So lately, I've been a little (A LOT) obsessed with Pinterest, I keep finding myself drooling over re-furbished dressers, kitchens I could only design in my HGTV dreams, and craft projects that make me feel lazy because I'm on my laptop and not actually creating ANYTHING! Along with all the "I'll never do that in a thousand years" pins, sometimes something comes up that I actually attempt! And so it was with the ombre nail. Ombre is the latest "it" thing, I mean it's everywhere, clothes, hair, decor, everywhere. I'm into it, I like it, dig it, want it NOW. So, when an innocent afternoon of pinning turned up THIS BEAUTY, I had to try it for myself. Let's just say I've never been "gifted" in doing my own manicures but for the sake of taking on another project, I decided to give it a go!
I was actually pleasantly surprised with the process. It's not that difficult to achieve the gradient goodness! Here we go:
Start by buffing and shaping your nails and removing cuticles.
Next, pick your colors. I decided to go with pink and white. I like the look of a French manicure but it's soooo 2006 but the ombre French manicure on the other hand, is like it's sexy, updated cousin.
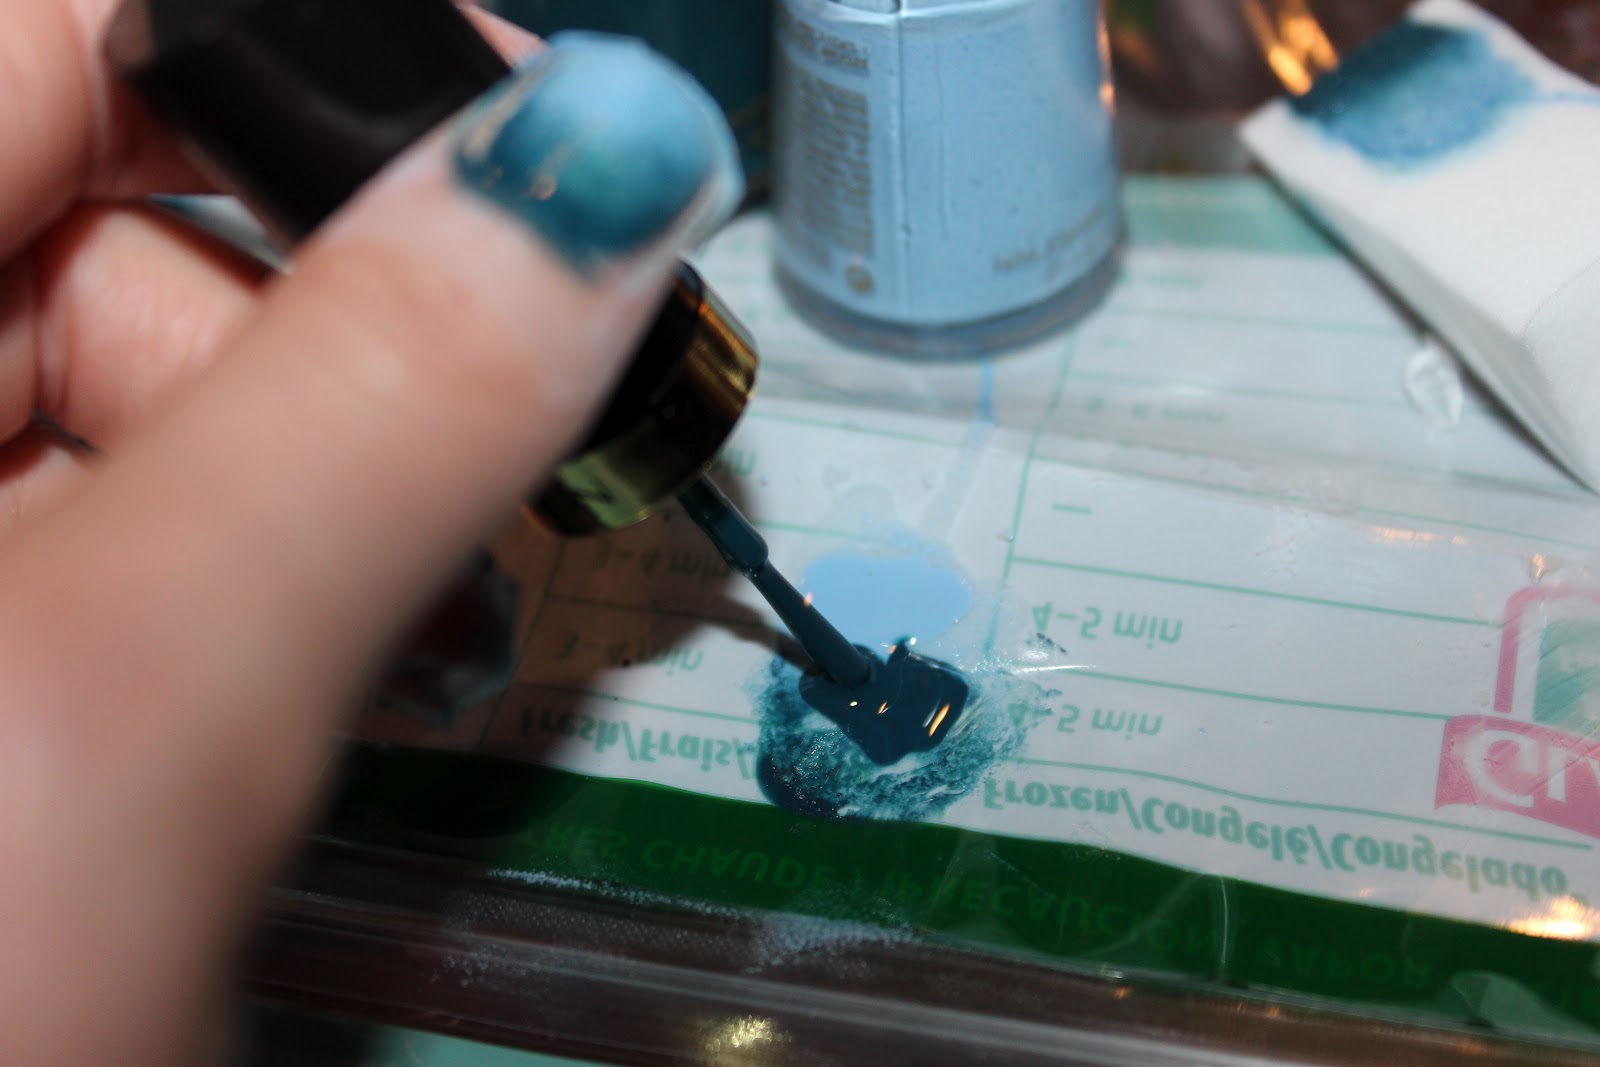
Take a makeup sponge and dip it in water, then squeeze out most of the moisture. Next, paint the tip of the sponge with your colors and blot on a plastic baggy. Line up the end of the sponge with your nail bed and dab the sponge up and down in the same place until the color transfers. It's going to be very light at first but let your coats dry before applying the next.
Your fingers are going to get very messy during this process. As you'll see a little later, you can use scotch tape to help the cleanup process. Don't worry, just use a brush and some acetone polish remover and you'll be good to go.
After I cleaned off the excess polish from my cuticles (I discovered you can NOT take pictures of yourself while doing this) the last thing you do is add a clear top coat.
Voila! The finished look, an ombre French manicure!
About four hours later, I decided I wanted to do another look, something a little more funky. I asked Mr. B to pick out some colors for me and this is what we went with. Two lovely blueish hues!
This time I wised up and covered my cuticles in scotch tape. This totally helped with the cleanup!
Hey look, Mr. B is home and helping me take pictures so you can actually see the steps!!! I tried a different approach this time, I painted the colors right on the bag and then pressed the sponge into the paint.
Here's the application, just press and re-press until it transfers!
Tape removed, SO much better! Took half the time to clean.
And here it is!!! I'm also artfully holding this pretty mosaic glass ball for dramatic effect. Sheesh, the things I do for you people, LOL. I definitely need to practice this a few more times to perfect my techniques but hey, not bad for the first go round!


.JPG)
Very cool! I'll be trying it with gray and Army green.
ReplyDeleteSo pretty!!! I see all the bad things that can happen with me trying this out...maybe I'll just put plastic down all around me ;) haha
ReplyDelete