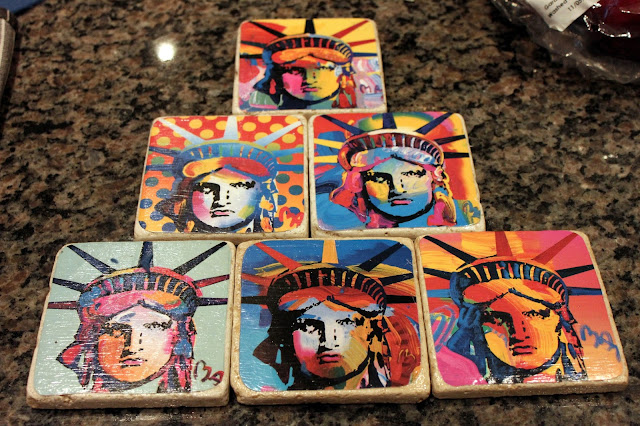
FINALLY, a craft blog!!!
A former co-worker of mine who also happens to be a rockin' artist (when you're done reading this, check her out here), was doing a project with a Peter Max book. As she was showing me her work, I spied a page she had taken out of the book with six of his Statue of Liberty lithographs. Later that day, I discovered she was kind enough to leave it on my desk and an idea was born.
The man cave is in serious need of some cool accessories and I thought these would make awesome coasters. Mr. B has a lot of military / political themed art and wall hangings down there and these would make a nice addition and add some funk to a kind of serious room.
 |
| The supplies: The art, Mod Podge matte, clear sealer, paintbrush, 4x4 stone tiles, glue gun, and felt for the base. |
Next I painted Mod Podge right on the cleaned and dried tiles (they were under $3 at Home Depot!), then positioned the picture on top and pained more MP over that.
I smoothed the picture down with my finger several times to ensure all the air bubbles were out and to get any extra glue pushed to the edges. This is really important to get a smooth finish! Once you get all the air out, keep going over the tile with your paintbrush until you're sure that the edges are tacked down and you don't have any bumps or grooves.
I also covered the sides of the tile with the MP to give it a uniform look.
The various stages of drying, even though it looks really cloudy, the MP dries clear. Once your tiles are completely dry, spray them with a healthy coat of the sealer. This will allow you to actually use your coasters instead of just admire them!
Mrs. B


What sweet coasters! I love them and it is so cool that they are one of a kind. I am in need of some new coasters. Hopefully this will inspire me to come up with something creative.
ReplyDelete