To get started you have to pit the cherries, honestly, this is the most time consuming part of the process. As you can see, I'm using one of my Ten (Somewhat) Essential Kitchen Tools, the cherry pitter! This lil bad boy definitely speeds things along. Make sure you aren't wearing anything nice during this process because it WILL be red by the time you're finished!
After the cherries were pitted I scraped my vanilla pod. Don't let the size fool you, there was enough vanilla flavor in this one pod to flavor another batch! Who needs extract when you can get the real deal?
To make the jam itself, chop the cherries in a food processor for a few pulses, throw it into a sauce pan with the vanilla, then add sugar, pectin and lemon (depending if you use sweet or sour cherries) and boil it up. If you've never canned before, there are lots of great resources on the web. I roughly followed the recipe for cherry jam on pickyourown.org, it's a great site with really simple directions. When I first started canning, the most intimidating thing for me was learning how to sterilize your jars and subsequently how to get the water bath right. After you've done it once, it's a cakewalk. I had more difficulty finding the supplies, apparently no one cans in the DC-metro area!
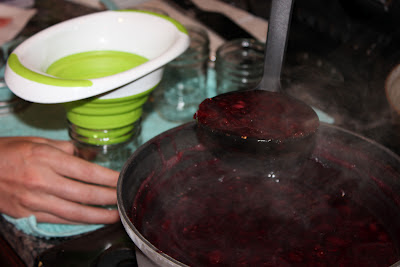
I ladled the jam through the funnel into sterilized jars, sealed them, then lowered them in the water bath!
After the water bath, leave the jars alone until you here the "POP" of the lid sealing. It's totally satisfying when you hear the last jar seal pops, that sound means SUCCESS!
The finished product was a glorious garnet colored jam that was sweet and tangy. I also whipped up a few more loaves of Basic White Bread to serve with the jam. Needless to say it was all promptly devoured by family and co-workers and now I don't even have a jar left for my pantry! Bummer, guess I'll have to make another batch :D
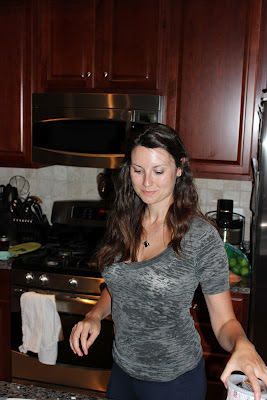
And here's the nice candid shot Mr. B got of me waiting for the jars to seal... pure glamour, that's me LOL.
 |
| Mrs. B taking on! |


Yes, please.
ReplyDelete