Search This Blog

Monday, June 25, 2012

Chilled Ginger Carrot Soup and Steak Pitas


A few months ago, we got a new juicer. It's something Mr. B has wanted for awhile so when I saw this beaut on sale at Costco, I brought it on home.The way it demolishes unsuspecting fruits and veggies into colorful, juicy deliciousness is pretty impressive. Aside from juice, you can also make dips and soups. I decided to make a chilled ginger carrot soup to pair with a steak pita sandwich. 
Fresh carroty goodness!
After juicing about 10 carrots and an inch or so of fresh ginger, I scooped in 3/4 cup of plain Greek yogurt and a little salt and whisked until completely incorporated. I also chopped fresh parsley from my garden to use as a garnish.


I covered the soup and popped it in the fridge to chill while I started on the pitas. I seared beef sirloins over high heat in a cast iron skillet to create a nice crust, then turned down the heat and finished them to medium. I sliced up the steak and then added some left over bbq'd potatoes from dinner the night before. The potatoes had sauteed onions cooked with them so I didn't need to add much else for flavor. 


 I topped the beef and potato mixture with feta cheese, chopped tomatoes and fresh spinach then laid them all in a toasty pita!

The finished product!
The soup was refreshing and light, perfect for the hot weather and the pita was savory and tangy. Try it out for a quick, week night meal idea!

Monday, June 11, 2012

New Camera!!!

Soooo excited! We finally got a new camera. No more blurry, half-focused shots! Mr. B splurged and got me the Canon Rebel T3i and I'm uber excited to get shooting! I will say that learning how to use a "real" camera, vs. the old point and click, has been an interesting challenge. I mean the thing comes with a small novel of a manual AND an instructional dvd but it's all worth it for you lovely people and your viewing pleasure! Here are a few pics I took around the house.
Yay for great pictures!
I hope you all will enjoy the blog a little more now that you can SEE what I'm blogging :)

Thursday, June 7, 2012

Garden Watch 2012!

Even though we don't have much outdoor space in our lil slice o' heaven, I really wanted to have a garden this year.  To remedy this, and to stop my whining, Mr. B decided to build a garden box for me. We measured along our fence and plotted out a 10x5' area that would work. After a mostly productive trip to our local Home Depot, we returned with custom cut pine planks and corner posts. All the garden blogs I read recommended cedar but because we can never have it perfect in this city, cedar was nowhere to be found and pine was going to have to do. After Mr. B drilled and assembled the frame, I took some leftover weather proofing stain from the deck and coated it. Behold, my garden box!!!

I also started seeds a few weeks back. I planted corn, watermelon, chard, beans, lettuce, squash, herbs, peppers, tomatoes, strawberries, carrots, and radishes! 

What they don't tell you when you're gleefully filling your cart at the home improvement store is the INSANE amount of soil you're going to need to fill that little box. So far, I've packed over 400lbs, yes, you read that right, of soil into our back yard and and you know how much depth that gave me? Oh, about 4 inches! EEEKKKK!!! I originally wanted a solid 12" of topsoil but forget it, I'll add more later, lol.  

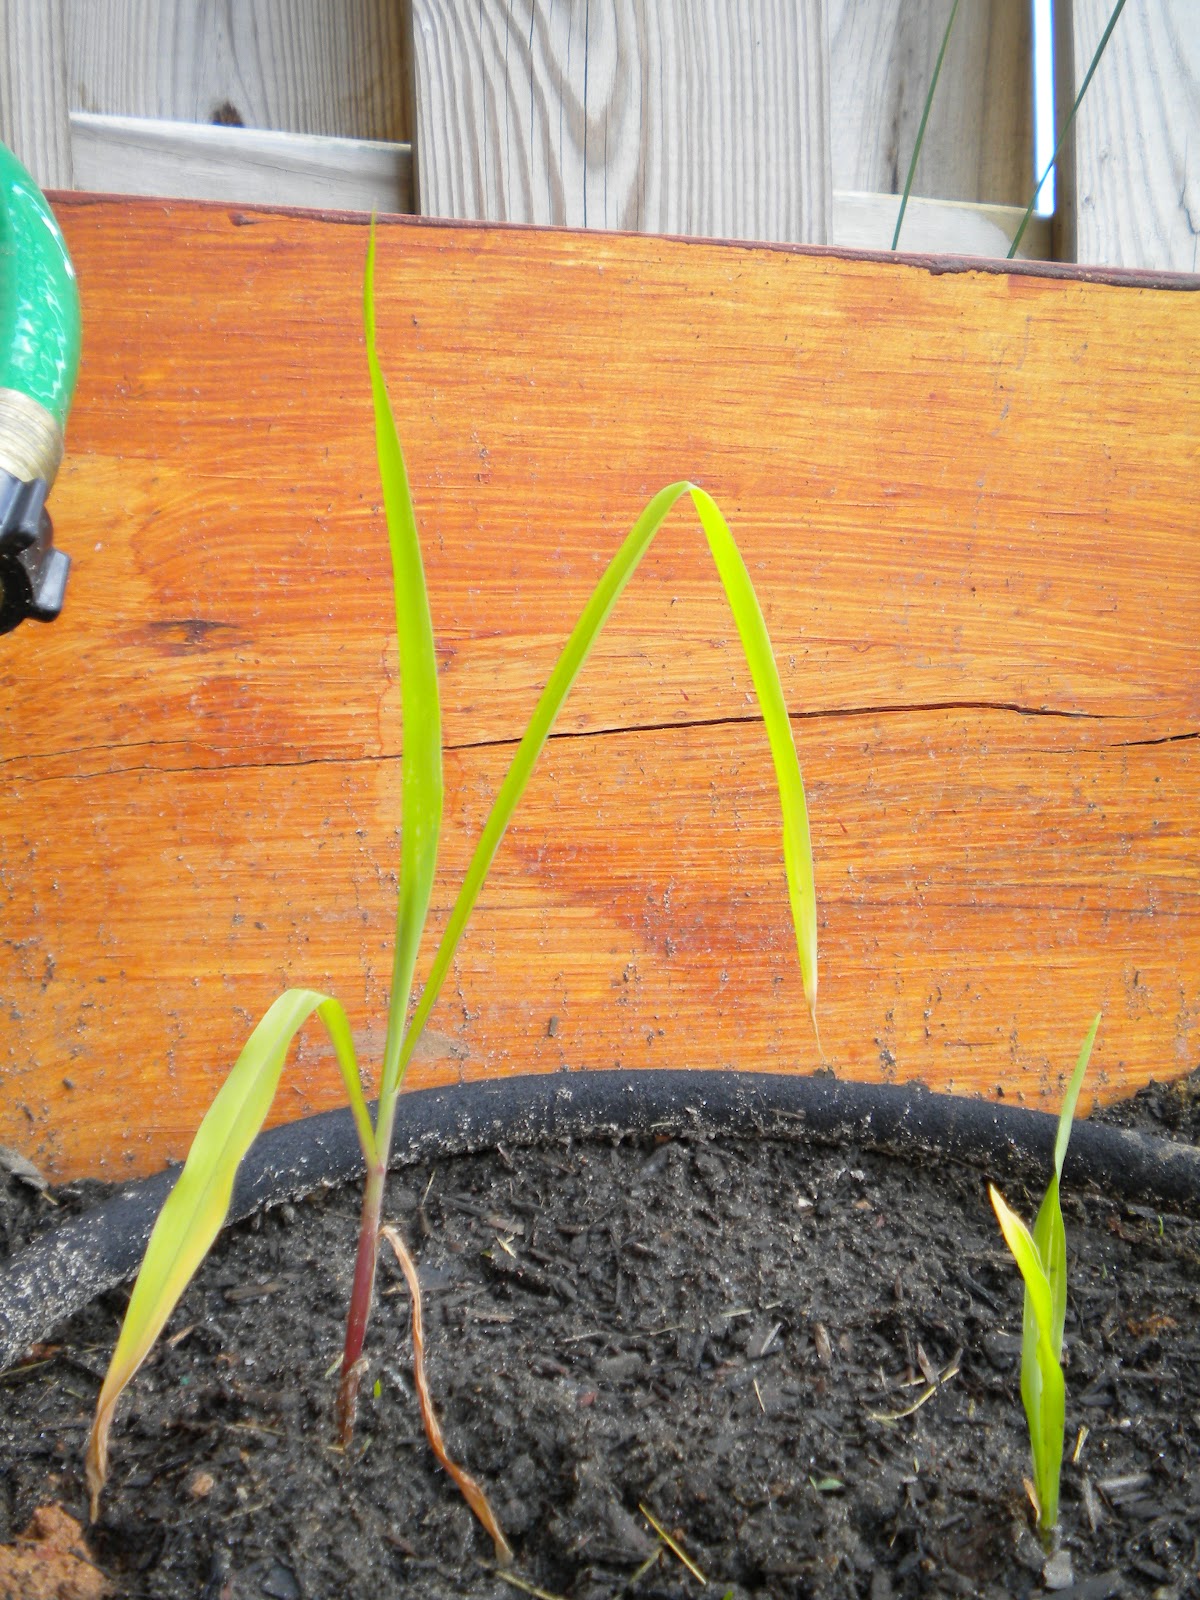
Here are the latest shots of my planted garden box!

'Maters!!! 
Strawberries

Corn


It just goes to show that you don't need a ton of room to grow your own garden! If you have even less space than me, try doing a potted garden. Lots of fruits and veggies flourish in pots, strawberries, tomatoes, peppers, just to name a few. A bonus to potting, you can move your herbs inside during the winter with minimal hassle and year round flavor! I can't wait to start enjoying my garden. Grow, baby, grow!!!

Tuesday, May 29, 2012

Ten (Somewhat) Essential Kitchen Tools

I wanted to put together a quick list of some of my favorite kitchen tools. There are so many gadgets out on the market that promise to change your cooking world but let's be honest, how many times do you buy one of these "must haves" only to lose it in the depths of your Tupperware cabinet? I own and frequently use all the items below and have found them to really make a difference in the kitchen! Happy Cooking!

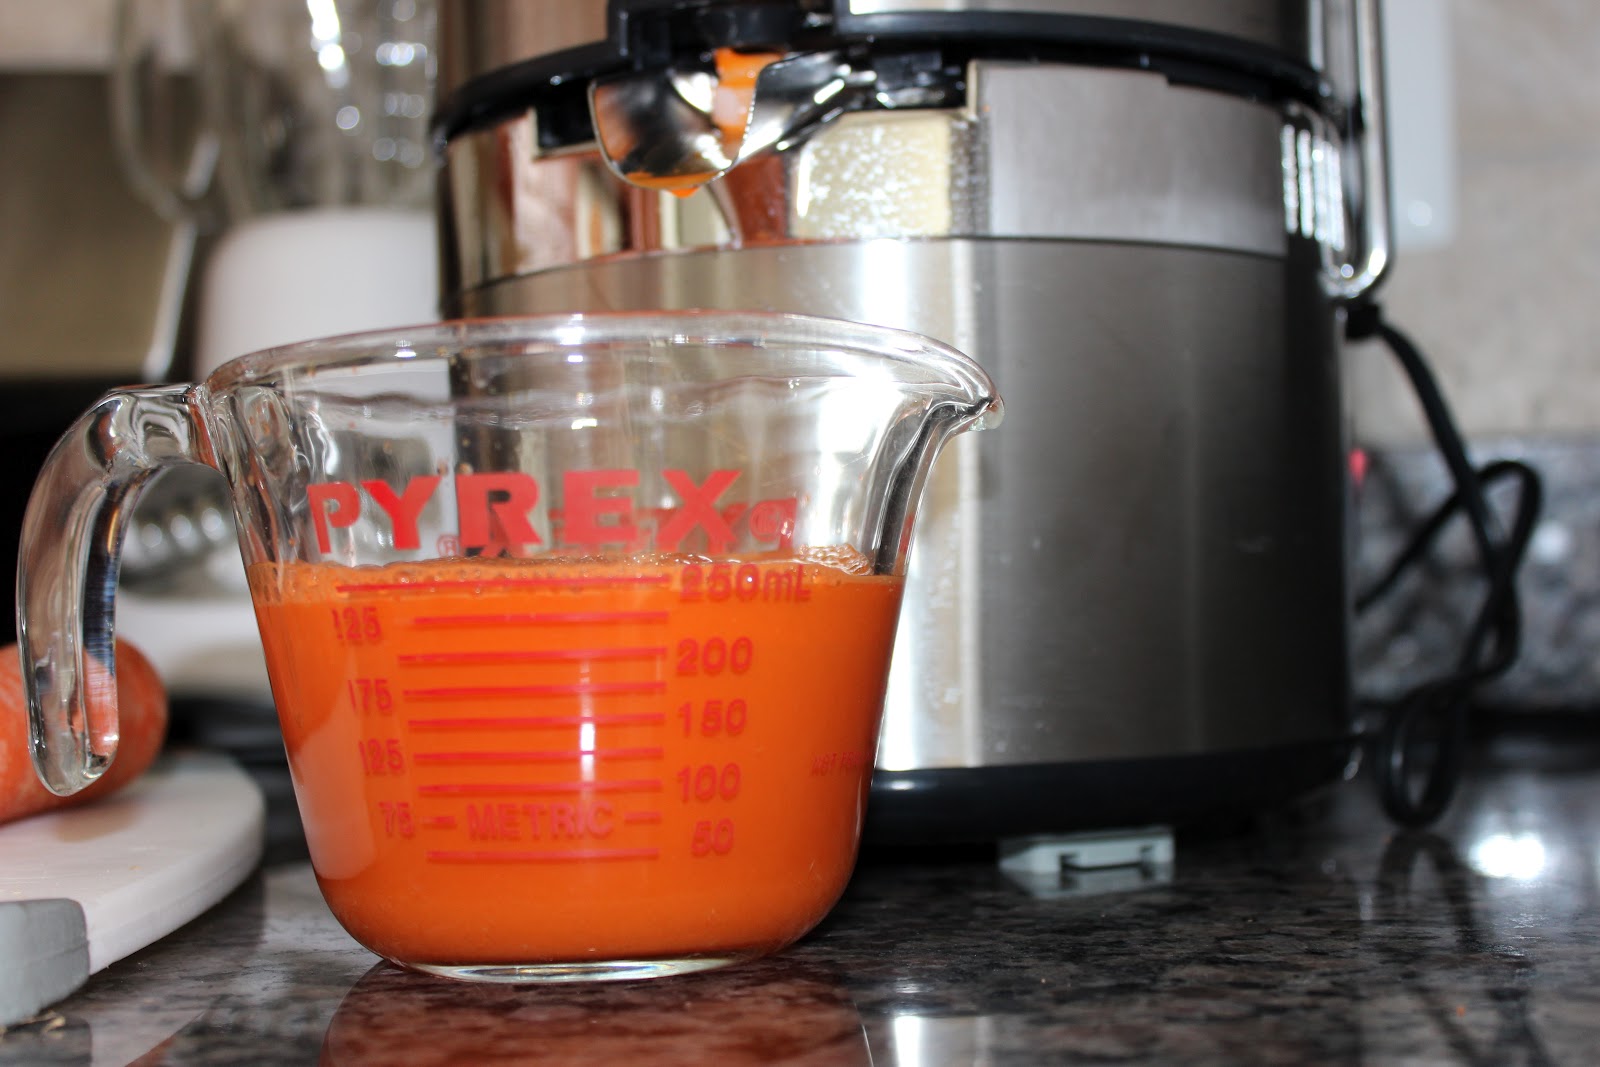
  1.     Hand juicer. Fresh citrus is always the better option. 
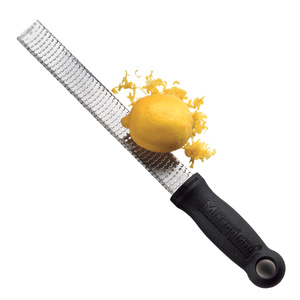
  2.   A microplane, a.k.a. a zester. Use it for citrus, cinnamon, and finely grated cheese.
  3.  Stand mixer. This one is a little on the spendy side but worth it's weight in gold! I don't know how I ever survived without it.
  4.     Mortar and pestle. Great for seeds and spices.
  5.   Progressive International GPC-5000 Cherry-It Multiple Cherry Pitter  Cherry or olive pitter. More time at the BBQ
  6.    Progressive Housewares 8050L 11-in Jumbo Steamer Basket   Steamer basket. Steaming veggies maintains their color and flavor.
  7.   Rabbit corkscrew. Save your strength! 
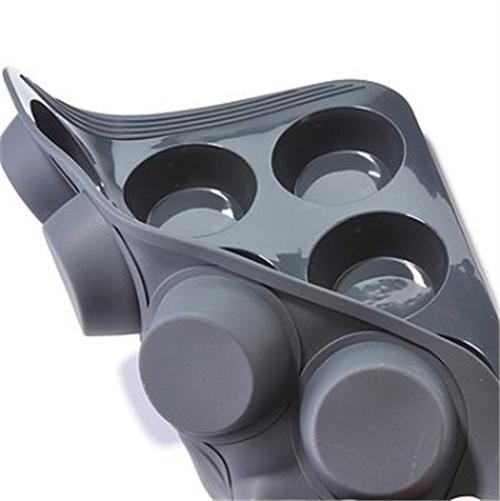
  8.     Silicone muffin pans. An easy no-mess baking tool.
  9.      Mango corer. I haven't found a better way to get the fruit off that stupid, oblong pit!
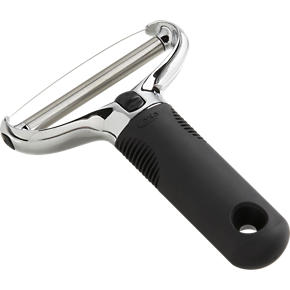
  10. Cheese slicer. Buying block cheese and slicing it yourself is an easy way to save "chedda"  


Friday, May 25, 2012

Bánh mì Goodness

If you've never tasted the amazingness that is Bánh mì, you are seriously missing out! I highly encourage you to find your nearest Vietnamese restaurant and try them out, or better yet, make them yourself.  Bánh mì is basically a french baguette filled with your choice of meat or pate and topped with pickled veggies, cilantro, cucumber, mayo, and chili sauce. 
Bánh mì ready to be assembled and DEVOURED!
I recently hosted a group of ladies at my house and wanted to provide a snack that would not only be delicious but also give some of them the opportunity to step outside the culinary box.  Bánh mì fits the bill. Savory chopped pork is the perfect base for the tangy-ness of the pickled veggies, while the cucumbers and the cilantro lend their distinct flavors and textures. Top it off with the heat of the sriracha, you've got yourself one craveable sandwich!


The pickled veggies are a breeze to make and you'll find yourself adding them to everything. For this recipe, I sliced up radishes, jalapenos, and carrots in the food processor. Aside from the flavor of these three, which are totally yummy, the color combo is divine! Traditional Bánh mì uses daikon radishes and carrots, I went with regular radishes, carrots and jalapeno for a little extra kick. 


I love the colors!
Once you slice up your veggies, pickling them is a snap. 1 part cider vinegar, 2 parts water, about a tablespoon of sugar, and salt to taste. Cover with cling wrap and refrigerate for at least an hour or two so the veggies can soak up the mixture.


I based my pork recipe on this (looking at their page REALLY makes me envious for a new camera!) but instead of using pork belly, I went with two pork loins. I cubed, seared, and seasoned them the same way as the recipe.   After they cooked, I strained the meat out and ran it through the slicing blade on my food processor. It shreds up nicely and really soaks up the juice once you return it to the Dutch Oven. The Vietnamese caramel is a little on the tricky side and it took me two times to get it right. Here's a tip, once you put your sugar in the water, swirl the pan, do NOT stir it!!! Stirring the caramel will cause air bubbles and cool the mixture and it won't caramelize. Instead, it will turn into a crusty mess. Once I mastered the caramel sauce, I added it to the shredded meat. Then I let it simmer on low for a couple hours while I prepped my house for guests.
The smell coming out of that pot was to die for!
After your meat has simmered for at least 45 min., you're ready to rock! Slice up some French bread, slather on the mayo and sriracha, top it with the meat, pickled veggies, thinly sliced cukes, cilantro, and BAM you've got yourself one tasty sammy!!!


Unfortunately, I didn't get a picture of an assembled sandwiches but I can assure you, they were as pretty as they were scrumptious and  a HUGE hit with my ladies!


Thursday, May 24, 2012

Basic White Bread


 As a wedding gift, my husband bought me my first Kitchenaid mixer. Some women want diamonds on their wedding day, this woman wanted a Kitchenaid stand mixer in boysenberry (ok, duh, I wanted diamonds too!!)! I consider it to be my "woman card" and it's one of my most prized possessions. So, to start off my blog, let's go with a recipe from the Kitchenaid instruction booklet,  Basic White Bread, page 61.
Here she is in action! 
It's really important to pay attention to the temperature of the water when you mix up your yeast. This recipe calls for the temperature to be between 105-115, if  it's too hot, you kill the yeast, too cold and it won't grow. I used a meat thermometer and that worked just fine. Side note, if you don't have yeast in your pantry, go buy it, NOW! It lasts forever and the packets make it super simple to whip up a yummy loaf of bread whenever.

Another handy trick I learned while baking this bread was a way to keep your dough warm so it can rise properly. All you need to do is pre-heat your oven to 400 for 2 minutes, turn it off and then place your towel-covered bowl on the center rack for the proper raising time. It worked great and I didn't have to hunt for sunshine to set the bowl in!
The rising dough
The recipe was easy to follow and the bread is delish! It turned out light and fluffy with a slightly crunchy crust. I think next time I make it, I'll throw in some fresh herbs from the garden or maybe try the cinnamon variation from the booklet. I hope you try it out and let me know what you think!!! 
I topped a still warm slice with butter and my homemade Jalapeno Jelly (I'll do a post on that soon!) SO good!


First Post!

Hiiii, welcome to my new blog on everything and anything to do with being a woman! My goal is to document my progress on projects around the house and let you join in on the fun. I'm going to "take on" recipes, sewing, home decor ideas, gardening, along with any other blog-worthy things that come my way! I want to inspire you to get out there and get your hands dirty, make things from scratch, and embrace doing it "the old fashioned" way. Being able to look at a finished project and say 'I made that.' just feels GREAT and I want you to experience it too! I'll include tips and short-cuts wherever possible to help you out because I want you to feel empowered to try new things. I'm so excited to get started and for you to join me in the adventure!!


~Mrs. B